One of my COVID quarantine projects is to digitize thousands of photographs and dozens of family-historical documents. A few years ago, I digitized 3,000 35mm Kodakrome slides, but left the zillions of prints to another time. Well, what better time could there be?
I have a flat-bed scanner and have used it to scan select pictures and documents. Despite the excellent results, using it is extremely slow and the workflow is tedious. Using just the flat-bed scanner, it would take me years to digitize the thousands of pictures and historical documents that are in albums and boxes around the house. I didn’t want to spend a lot by sending the photos to a scanning service nor buying a dedicated photo scanner. So, I decided that I needed to develop a solution that would allow me to move through the digitization workflow much faster.
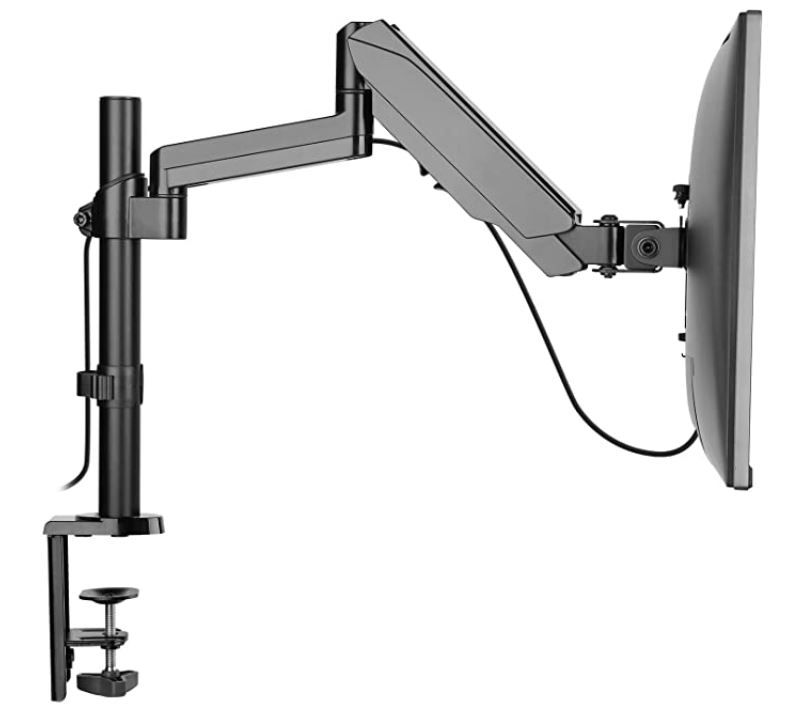
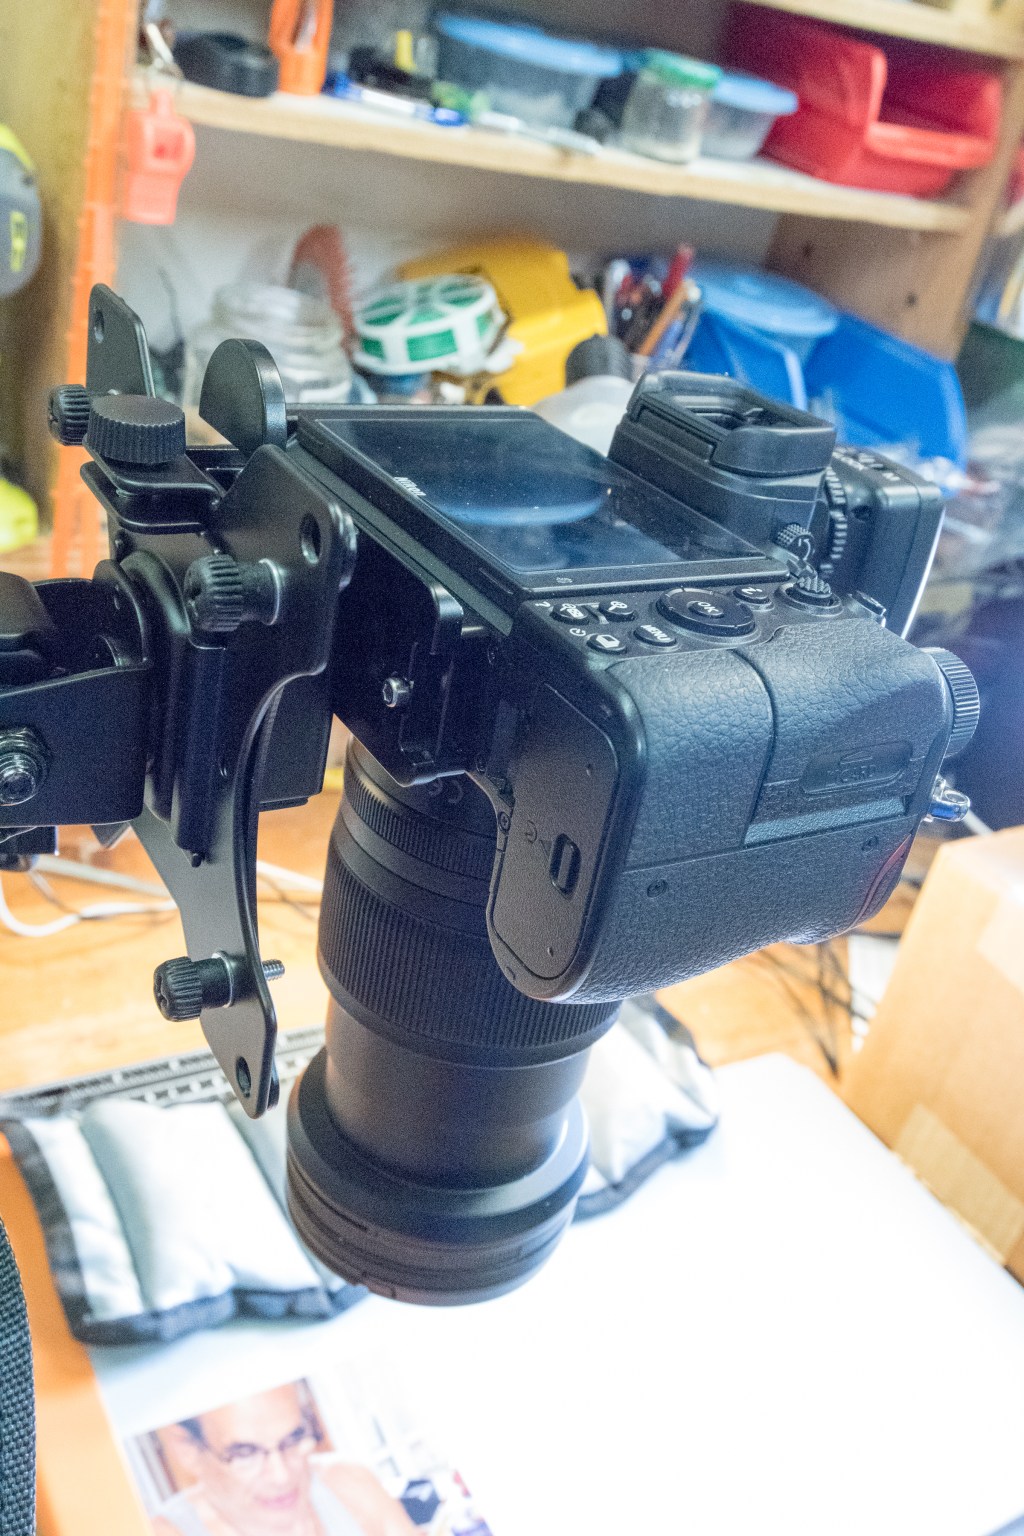
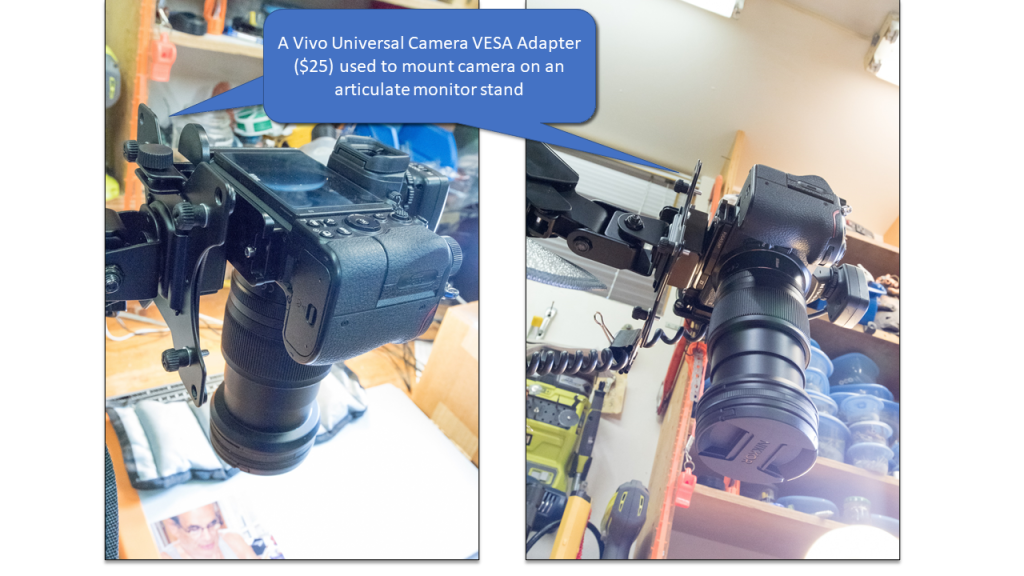
I did some experimentation with a tripod-mounted Camera set-up. After a few dozen pictures and documents I decided a tripod was too rigid as took a lot of time to adjust the legs, stem and ball-head for the different kinds of photos or documents I was digitizing. I needed a way to move the camera around freely. I did some research and decided that a spring/gas-assisted articulated monitor-arm would be an effective platform to enable the camera to move around in 3 dimensions. But how could I attach a camera to it instead of a computer monitor? The key to this idea was discovering a cheap VESA-to-camera adapter. This $25 product was exactly what was needed to securely attach a camera to a monitor-arm. Once I discovered this, I then proceeded to order the parts for the project. A few days later, packages arrived at the door and I MacGyvered the first version of my photograph digitizing station shown below.
This is just my a quick-and-dirty implementation. There is much room for refinement in the weeks ahead:
The key to this set-up is the VESA-to-camera adapter. It enabled my DSLR to securely connect to the monitor-arm
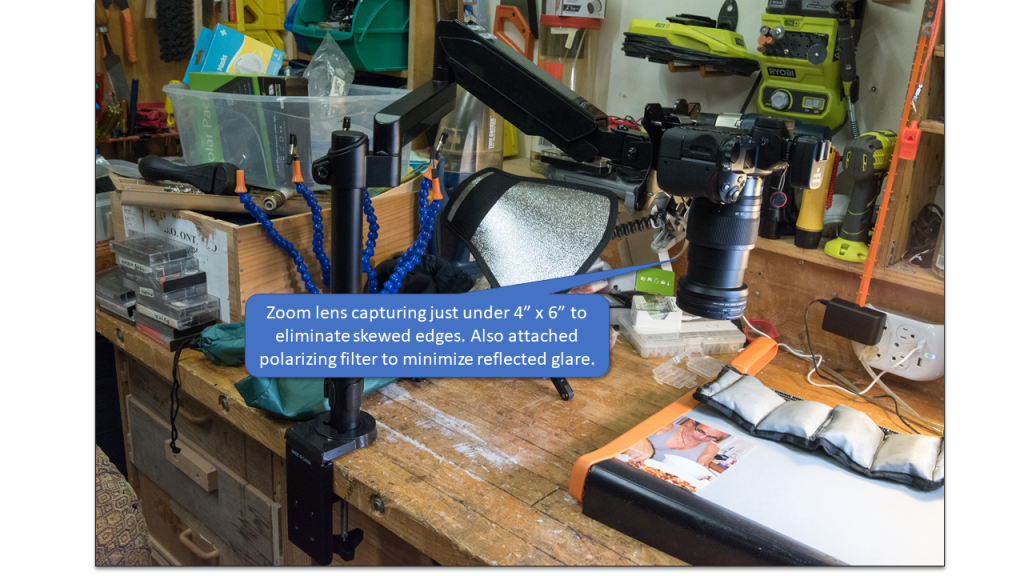
At first, I mounted a macro prime-lens onto the camera, but that forced me to use the monitor-arm for fine-adjustments. It isn’t made for that. Swapping over to a zoom-lens offered me much better control.
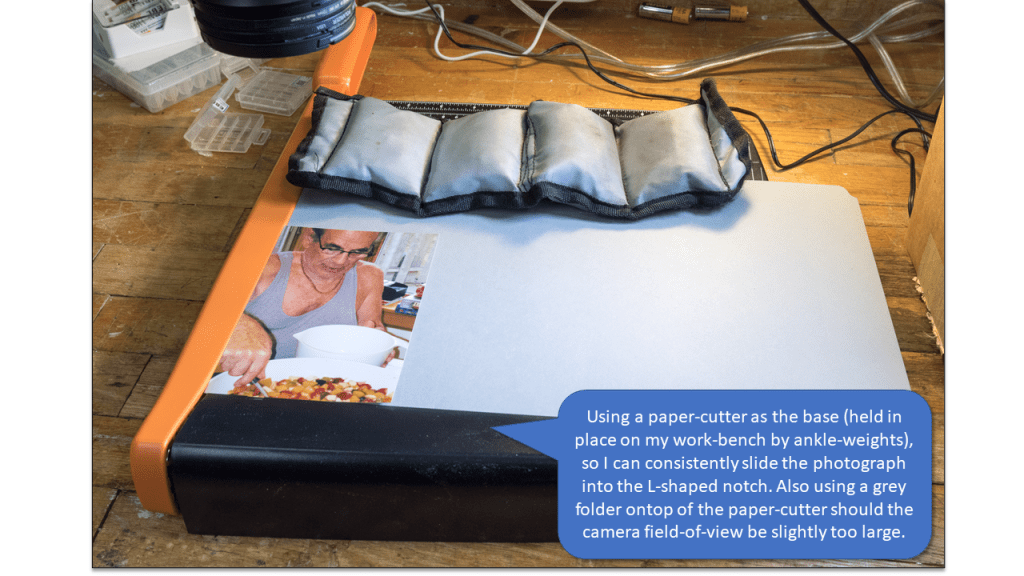
It was a hassle getting the photos out of the sleeves (and back in again). They frequently stick and collect dust quickly. Photos also tended to curl which means I needed to set a medium F stop to ensure the whole print was in focus.

To work quickly, the photographs needed to be easily and precisely positioned in a preset location under the lens. I looked around the workshop and found a physical frame that I could use to slide the photo into.
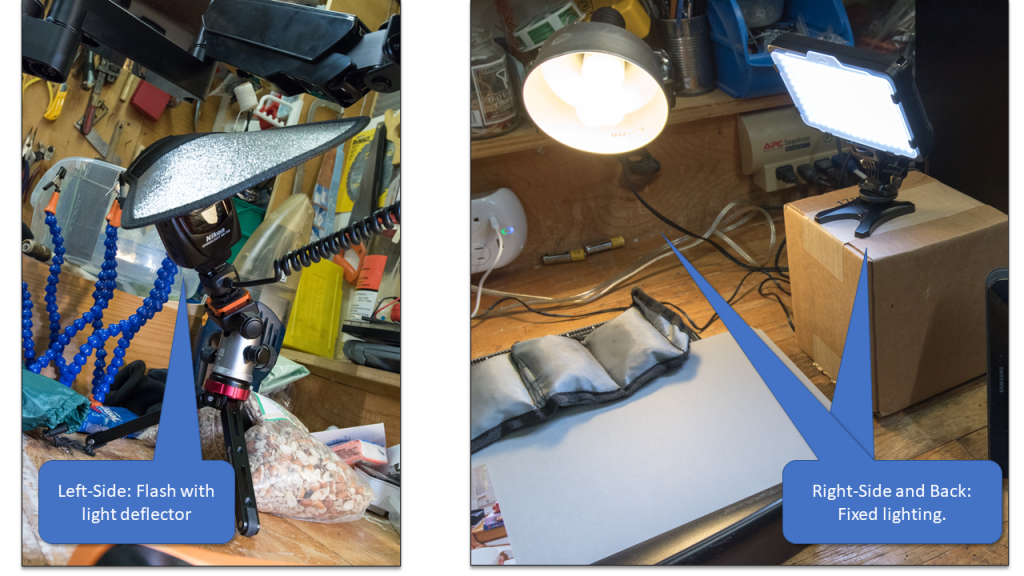
As I don’t have much in the way of studio lighting, I decided to use both fixed and flash lighting. I discovered that illuminating the photograph on at least two sides is key.
To keep the process moving quickly, I used a tablet with a WiFi connection to the camera to pre-view the shot and trigger the shutter. This minimized camera jiggle.

I set the camera’s file-naming prefix setting to the year the photos were taken to make it easier to chronologically manage the digitized photos once they were transferred to my computer. I can reset this for every batch of photos digitized. Unfortunately, you only get to choose the initial three characters on Nikon cameras. So I used “007” to identify photographs from 2007.
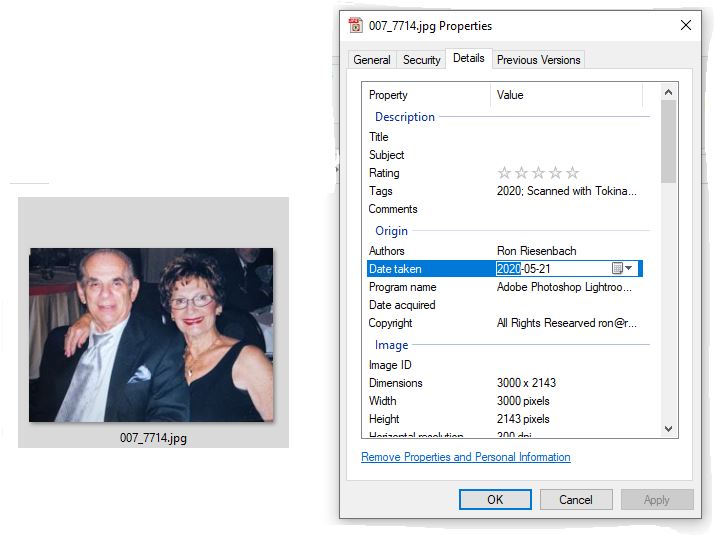
Another useful trick I came across is to back-date the EXIF meta-data of the files so that the “date taken” field is the date the picture was shot, not the date it was digitized. Changing this enables proper chronological display on services such as Google Photos that use this field to sort images. An easy way to do this is to select a group of digitized pictures in Windows Explorer, right click and choose Properties/Details, find the ‘date taken’ field and set the date appropriately. You can do this for multiple files at once — just select the group and right click on any one of them. Do this BEFORE importing the digital files into Photoshop or LightRoom, as it is hard (or impossible) to change these fields once they are in the program.
I found that I can digitize about 4-5 photos a minute with this setup (after removing the photos from the album sleeves). The results are not quite as good as using a flat-bed scanner, but they are satisfactory. Certainly good enough given the quality of the prints themselves. See the example below.

Now, all I need to do is wait for a rainy day and get down to the business of preserving history.


Leave a comment